Big Improvements from Small Projects

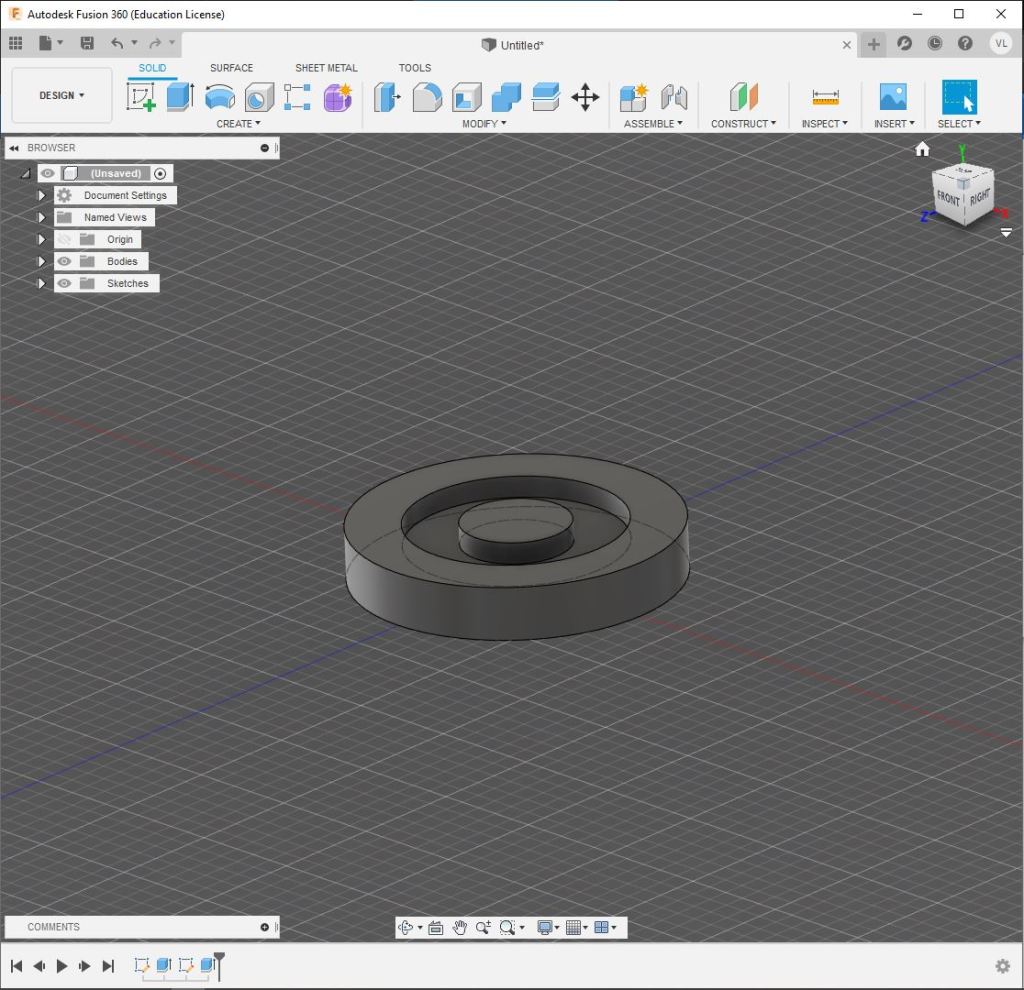
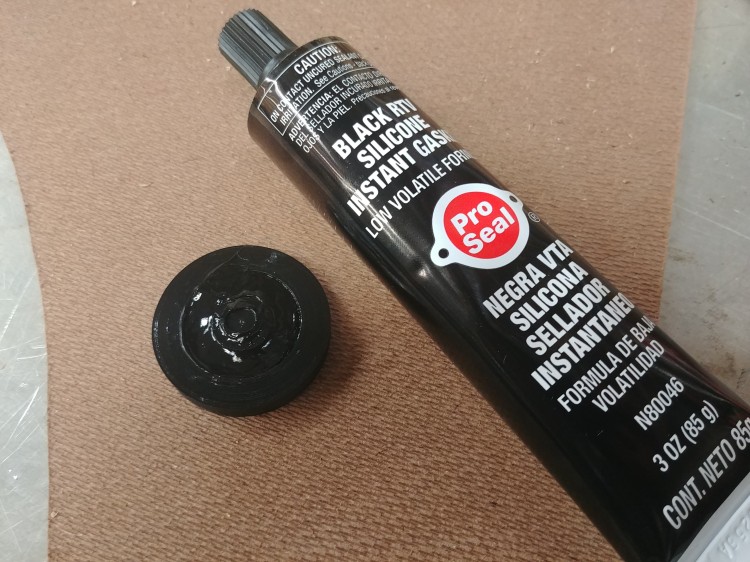
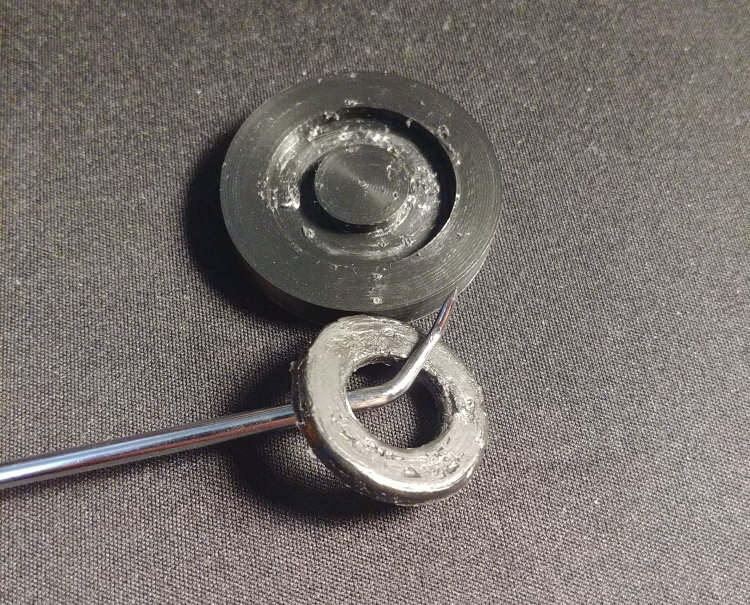
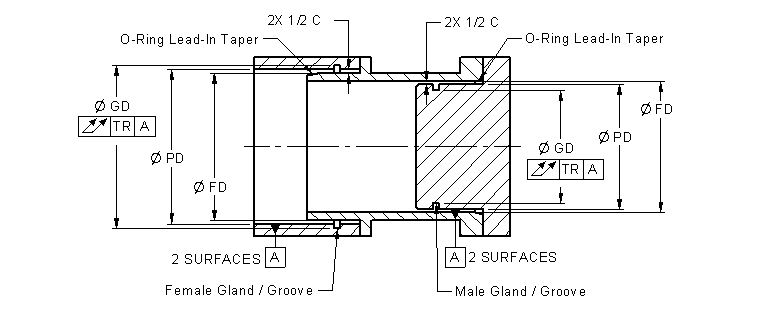
No project is so small that it can’t be made into a learning opportunity. When I found myself in need of some small plugs to seal up a leaky instrument for OSU’s Tanguay Lab I decided to design and print them myself. In order to ensure a good watertight fit I knew they would need to include an O-Ring or some other flexible seal. I’ve never had to design anything with a flexible, compressible o-ring before, so I used the excellent o-ring design guide from EngineersEdge.com to size my components for a 15% compression fit on the o-ring.

Schematic from EngineersEdge.com for designing o-ring fit and installation.

When removing the plugs the user will need some sort of grip. I could have included a basic flange, or nothing at all, but I’ve been wanting to learn how to model nice knurling on my parts for a while now. I followed a YouTube tutorial on knurling using the Coil, Mirror, and Circular Pattern tools and the knurling came out great! I was even able to make it follow the taper of the plugs grip. This is a very simple method, it produces great results, and the process should be similar on other CAD software.

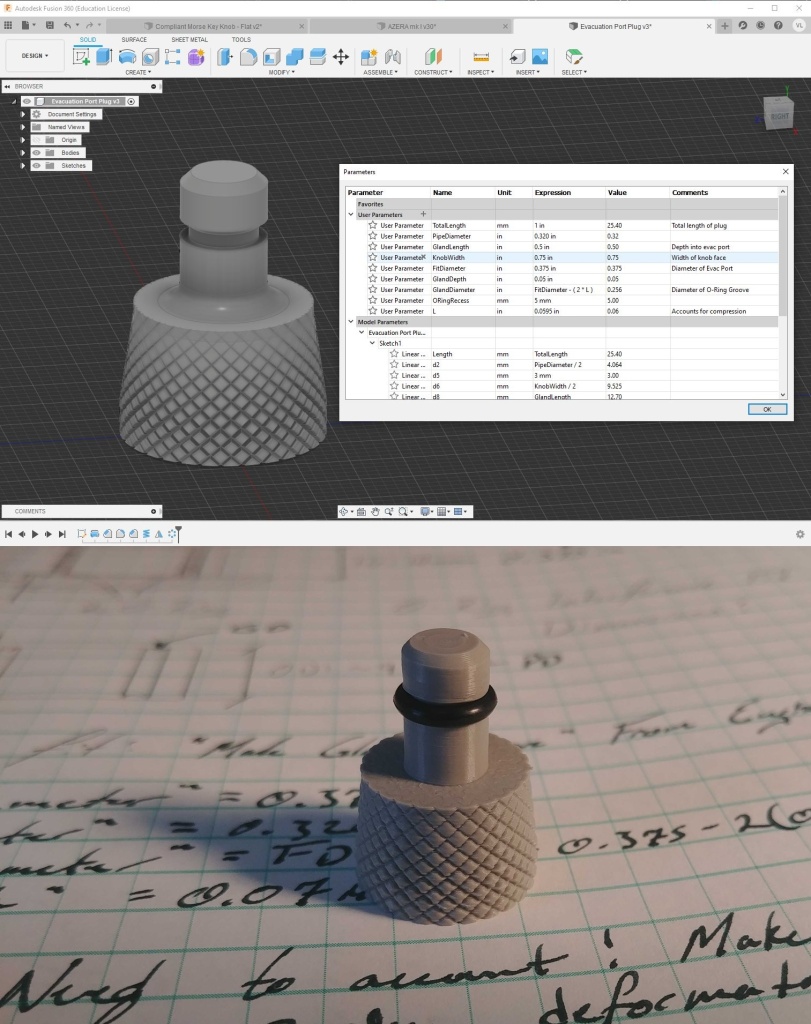
Both of these techniques require a bit of adjustment and tuning to get things just right, so I took a little more time to learn how to use User Parameters in Fusion360. This allows me to create a table of named values and expressions which are referenced by features in my model. For example, if I wanted to change the overall length of the plug I could simply go into the original sketch and modify the corresponding dimension, or I could go to my parameter table and change “TotalLength.” To change the depth of knurling I could just modify that parameter in the Coil feature, or change the “CoilDepth” parameter in the table. For a small part with only a few features such as this one, it might not matter much either way. But I usually work with much larger models including dozens of sketches, extrusions, holes, and other features. I could (and in fact do) quickly get lost in trying to find which sketch describes feature X, or which extrusion sets the height of Y. By giving each of these values a descriptive name in the User Parameter table, I can quickly look up and change the values of X or Y in one place. I really can’t believe I haven’t been using this all along, I can already tell that this one feature is going to really change the way I work going forward!

Comparing the CAD model to the resulting 3D print.

Small projects like this one are a perfect opportunity to experiment with different techniques and learn new things, though it may be easier to keep doing what you’ve always done. I could have made these plugs “good enough” in about 5 minutes, but by taking the time to make them the way I really wanted them to be I learned a few things that will help improve bigger, more important projects in the future. Only by consciously stepping outside of our routines can we expand our abilities and grow. So next time you have some small task to get done, remember that you can realize big improvements from small projects!

Industrial Knowledge Applied In The Home Shop

3D printing – Silicone – Moldmaking

Early this summer while watering the garden I found the small rubber washer missing from our hose nozzle and, as the water sprung forth from the leaky joint all over myself, an idea sprung into my mind. I had for a while been considering the use of 3D printing not for an end product or finished part, but as a way to make more traditional industrial processes accessible to the home shop and backyard projects. Having done an internship at a plant that produces composite silicone seals I am somewhat familiar with the process of turning raw silicone into finished parts. So, I thought this might be a good place to start experimenting. One pandemic, a stimulus check, a visit to the Creality online store, and several months of delayed shipping later, here I am ready to finally make my 35 cent washer.

The process in an industrial setting is relatively simple – raw silicone is mixed with additives, following a recipe that will produce some desired hardness, color, heat-resistance, durability, etc. It is then rolled into sheets, where it is usually combined with a special cloth backing for strength. The sheets are cut into shapes, and these shapes laid into molds, layer upon layer, before being closed up and cured. Upon removal from the mold they are cleaned up, inspected, and shipped to the customer.

I was surprised at how much hand work was involved! Nearly all of the parts we produced were essentially handmade, with dozens of small silicone puzzle pieces arranged just so and pressed into complex concavities carefully carved into blocks of steel. It takes more than a bit of patience and skill to do well, and lacking these my experiments here will begin at the most basic level. I began with designing a simple mold for a washer. 40 minutes later it was hot off the print bed and nearly ready to accept some silicone.

Molds must be treated before use with a mold-release agent to prevent the part from sticking, just like greasing a cake pan. Depending on the material being molded this is usually a waxy or oily film applied from a spray can or rubbed on by hand. Shamefully, I don’t have any proper mold release in the garage, but I figured a light layer of silicone PTFE (Teflon) grease would do the trick. I worked a bit of Super Lube over the mold, down into the recessed area, and it was ready use.

I have seen some 3D printed molds being used for casting silicone before, but these are usually cast with some sort of two part food-grade or model making silicone that is mixed and poured into a mold. This is somewhat messy, creates a lot of waste, and requires material that might not be available locally. But there’s another product that I think may be easier to use, and that many people might have at hand – RTV Silicone. This is a product that comes in a tube at any hardware store or auto parts store, used for making seals and gaskets between parts. It dries, or vulcanizes, at room temperature (at last the meaning of “RTV” becomes evident – room temperature vulcanization) and is available in varying degrees of hardness and temperature resistance. I had some high-temp oil resistant RTV on hand, so into the mold it went.

After smoothing and evening out the silicone by wiping a piece of cardboard across the top, it was left overnight to cure. The next morning the washer was removed with little trouble. It was stuck to the mold in one place where evidently I didn’t apply the mold release well enough, but aside from that one spot the Super Lube performed admirably.

The surface finish wasn’t perfect, likely because of air bubbles between the silicone and the mold, but I think this proves well enough that the process works. I’ve already made a list of several things I’d like to try differently in the future:

  • Use wood filler and spray paint to create a smoother mold surface
  • Use a brush to apply the mold release, working it into small voids and gaps
  • Try using regular car wax as a mold release
  • Use a two part mold to squeeze out bubbles and get a more uniform finish on all sides of the part
  • Experiment with additives, such as corn starch or fine nylon mesh, to improve the final properties of the part.
  • Combine this with other 3d printed parts to overmold a layer of silicone onto tool handles, RC car tires, etc.

An Introduction

My name is Vance Langer, and I studied Mechanical and Aerospace Engineering at Oregon State University where I graduated with my Bachelor of Science degree in the summer of 2020. I love designing, planning, building, and making things, employing both new and old technologies and materials. Often my projects serve as a means through which I can learn something new by experience – how to use a new tool or material, to gain a better understanding of the past, or to test a new idea. Sometimes it’s just to fill the space around myself with beauty, and sometimes simply to solve some pressing problem. Occasionally they’re just a compulsion to keep myself busy and entertained. I intend for this site to be a place for me to document and exhibit my myriad projects, designs, and creations. I hope you enjoy following along with my projects, and more importantly I hope you, too, can learn something new with me.

Design a site like this with WordPress.com
Get started